Baked Zucchini Fries

Image

Here’s what you need:

  • 1 cup unseasoned bread crumbs (I prefer Panko)
  • 1/2 teaspoon kosher salt
  • 1/4 teaspoon freshly ground black pepper
  • 1 cup all-purpose flour
  • 2 eggs, beaten
  • 3 medium zucchini, peeled and cut lengthwise into 2-inch-long and 1/4-inch-thick pieces
  • 1/2 teaspoon chipotle powder (or sub paprika if you don’t care for spicy food)

Here’s what you do:

  • Preheat oven to 350°F.
  • Combine the bread crumbs, salt, pepper and chipotle on a plate. Place the flour on another plate and the beaten eggs in a small bowl.
  • Dip the zucchini sticks first in the flour until lightly coated, and then in the eggs. Then roll them in the bread-crumb mix until they are well coated.
  • Place the zucchini pieces onto a baking sheet and bake until the zucchini is tender but the coating is crispy, about 20 minutes. You may want to flip them half way through. If you prefer to have them more crispy, give them a drizzle of olive oil at the halfway point.

Enjoy!

(*I posted this previously on another blog for a school project, but wanted to post it again here.)

Advertisement

You Say Potato, I Say Accordian Potatoes!

Image

Here’s another fun way to eat your vegetables! After seeing this recipe on French Cooking at Home, I had to make them! I used local redskin potatoes, but any small variety will work. Preheat your oven to 400 degrees. After you wash the potatoes, slice them along one side, but not all the way through. place fresh herbs in a couple of the slots. I used sage, rosemary, marjoram and thyme, but use what you like! Give them a good drizzle of extra light olive oil. Feel free to drizzle them with melted butter, or canola oil etc. as well, but note that they will brown quicker with butter. Bake them at 400 degrees for 30-45 minutes or so, depending on how crisp you like them. They will fan out as they cook and take on the accordion look. Enjoy!

(*I posted this previously on another blog for a school project, but wanted to post it again here.)

A Note On Coffee and What You Might Put In It…

Image

When it comes to eating and drinking, I prefer to keep a “back to basics” mentality. I have done several research papers on food additives and my results have led me to seek simplicity with food. Looking through this lens, I’ve examined what I consume on a daily basis, and I started with coffee. Big brand commodity coffees (like Folgers) are stored in warehouses on an average of five to ten years as they are traded over and over before they are even roasted.  Most of these commercial brands contain moldy beans, rocks, and sticks, and are just poor quality. I decided to seek out the freshest beans I could find, and though I’m not on board with home roasting at this point, I was able to discover that there is a coffee roaster about 30 minutes from my house. The internet is a fabulous resource, and even if you do not have a roaster that close to home, reading the labels in your grocery store can be a great place to start to find an option that is closer to home than a commercial coffee.

Something else to take into consideration is what you put in your coffee. Seemingly harmless containers of half and half, or non-dairy creamers can contain a host of harmful ingredients like high fructose corn syrup. You may have seen the ads that say High Fructose Corn Syrup is from corn, has the same calories as sugar, and it is fine in moderation. What the ads fail to mention is the definition of “moderation” and that consuming high fructose corn syrup is the fastest way to ruin your health.  High fructose corn syrup is a major contributor to insulin resistance and obesity, cardiovascular disease, cancer, arthritis and even gout.  Your body metabolizes fructose in a way that falls entirely on your liver. This is fine if you are getting your entire consumption of fructose from fruits and vegetables, as people did about 100 years ago.  Back then, people were consuming about 15 grams per day of fructose, but now, that number has increased to about 70 grams of fructose consumed per day, and these mass quantities are the leading reason as to why high fructose corn syrup is so bad for you. To put it very simply, our bodies are just not equipped to handle these massive doses, and the effects can be devastating.  However, much like cigarette smoking, the effects may not be devastating for all people who smoke, just as you can say the same about consuming high fructose corn syrup, and the slanted science we see in the television commercials adds to the confusion surrounding why it is bad. This can be avoided by selecting a grade A option for a few cents more, or just using milk. (Or a non-dairy variation for my fellow lactose intolerant friends.)

Now comes the sweetener. Chemical sweeteners like Equal or Splenda should be examined as well. Many people believe that Splenda is a healthy alternative to sugar, because it is made from real sugar. This is deceptive because it is actually chemically modified in a way that adds chlorine, and makes Splenda closer in structure to a chemical pesticide than, than a “naturally derived” sweetener. Likewise, the seemingly harmless Stevia plant has also been linked to cancer and questionable implications of sterility. The bottom line is, in most cases, for most people (unless you have diabetes, etc.) plain white sugar is fine, because it is natural.

Coffee, and what we put in it, is just one example of how common our exposure to harmful ingredients is. The fact that these products are on the shelf, does not make them safe for consumption, and examining the ingredients will support that claim. This is why it is crucial for the general public to examine products ourselves, and determine our own comfort levels of what we are willing to put in our bodies, instead of having blind faith that the FDA can determine that for us.

(*I posted this previously on another blog for a school project, but wanted to post it again here.)

A Note On Boxed Wine

Image

When people talk about box wine, it’s kind of an unwritten rule that it is not considered to be a classy beverage. I know I like a superior product as much as the next person, but I can’t argue that box wine is inferior. Well, maybe some, but certainly not all. With the green movement increasing in popularity, more and more brands are jumping on the box bandwagon.  Here’s a few reasons why:

  • On average, one box of wine is equal to four bottles. I usually buy the brand featured in the picture above. Many people say that anything “organic” is very expensive, but buying the box puts my cost per bottle around $5.00.
  • It really is eco-friendly. Some recycling services actually cannot recycle certain glass bottles because of the coloring, and they ultimately end up in a landfill despite the good intention to recycle. Box wine eliminates this, not to mention the pollution to produce and ship the excess packaging from bottles alone.
  • It stays fresher longer. Even if you re-cork a bottle of wine after opening, it still oxidizes, and goes bad before the next day. Box wine stays fresh up to six weeks after opening.
  • You can reuse the liners. Being Earth-conscious, (even with my wine consumption) I reuse my wine liners by cutting off just the top seam of the bag. Then, I place the bag in a flowerpot, fold the top over the rim, and secure it with a rubber band. I leave them out in my backyard to collect rainwater. Once they are full, I remove the rubber band, gather the top and re-secure it with the rubber band. Then I save the spouted bags of water for when the rain dries, and I need to water plants. Eco-chic-o!

Additionally, the organic wine I buy is sulfate free. There is a lot of controversy surrounding whether or not sulfates are bad for your health, and I encourage everyone to research that. Regardless of the controversy, many fellow allergy sufferers have sulfate sensitivity, intolerance, or full-blown allergy, and cannot drink certain wines because of this. It’s nice to know there are options available for allergy sufferers, and I recommend using a sulfate free wine if you will be entertaining this holiday season (or anytime.) Enjoy the box wines you try, and if anyone makes a comment about them not being classy, simply state that you are just doing your part to save the planet.

(*I posted this previously on another blog for a school project, but wanted to post it again here.)

Allergy Substitutions

This section will always be a work in progress. Check back from time to time for more updates! – Here’s the disclaimer: If you question whether or not these substitutions will work for you, please check with your doctor first. 😉

The bulk of my food allergies are due to grass pollen in foods. When I went for the “prick tests” the allergist told me the things I was allergic to would swell up like mosquito bites. For the most part, they did, but the spot on my back for grass swelled far beyond that, and felt like it wanted to take over my back. They actually called people in from other rooms to look at it. Awesome. (By awesome, I mean, not awesome at all.)

Grass pollen allergies are tricky because you may not always react to the same type of food twice. Also, I’ve been told by an allergist that apparently grass pollen in foods can break down from cooking. However, there is no set “magic time” to cook things to make this happen. For me, this type of allergy is usually more annoying than dangerous, but every time you are exposed to something you are allergic to, it heightens the sensitivity. If you have a food allergy, I find it is better to steer clear of it as much as you possibly can.

Bananas/Eggs

Bananas and eggs are commonly used as a binder in recipes. Try pumpkin puree as a substitute. It is similar in texture, and tastes great in recipes. Depending on your allergy, you may be able to substitute plantains for bananas. Many people who are allergic to bananas find they are not allergic plantains. Just note that plantains are usually less ripe than bananas, and may be a little harder to work with.

Butter

Try using extra light olive oil as a butter substitution. It is more mild than extra virgin, and can pass as a buttery flavor. You will need to modify the amount however. To do so, check out this chart from Filppo Berio:

subchart

Generally speaking, a fat is a fat, and many are interchangeable. If I am out of extra light olive oil, I substitute regular olive oil, canola oil, or vegetable oil. I wouldn’t recommend using grape seed oil or extra virgin oils for butter substitutes (though I love them for other things.) They have very distinct flavors, and can overpower a recipe.

Citrus

One of the main functions of adding a splash of lemon or lime juice to recipes is to make things a little tart, and to keep things (like apples and avocados) from turning brown. I’ve read that vinegar works as a citrus substitution, and though it can be great in a lot of recipes, adding vinegar can be a quick way to make something taste horrible. I typically use white wine as a substitute. I keep a boxed wine in the fridge fridge to avoid cracking open a new bottle for a tablespoon or two for cooking. (And, who am I kidding, I drink it. Boxed wines have come a long way, and with less packaging waste than bottles, they are eco-friendly. I’m just doing my part to save the planet.)

If you are substituting citrus is a pie or dessert, a variety of liquors will work as well. Here’s where trial and error will come into play, but you have a lot of “wiggle room.” For apple pies, I use apple brandy. You could also used spiced rum. In other fruit pies you can use a coordinating schnapps, or rum, or, brandy. Try different flavor combinations, and see what you like the best!

Pineapple is actually not a citrus fruit. However, it is also a common allergen, so try it with caution. I am allergic to citrus, but not to pineapple. I use pineapple juice instead of orange juice for making mimosas, or as an orange substitute in certain recipes.
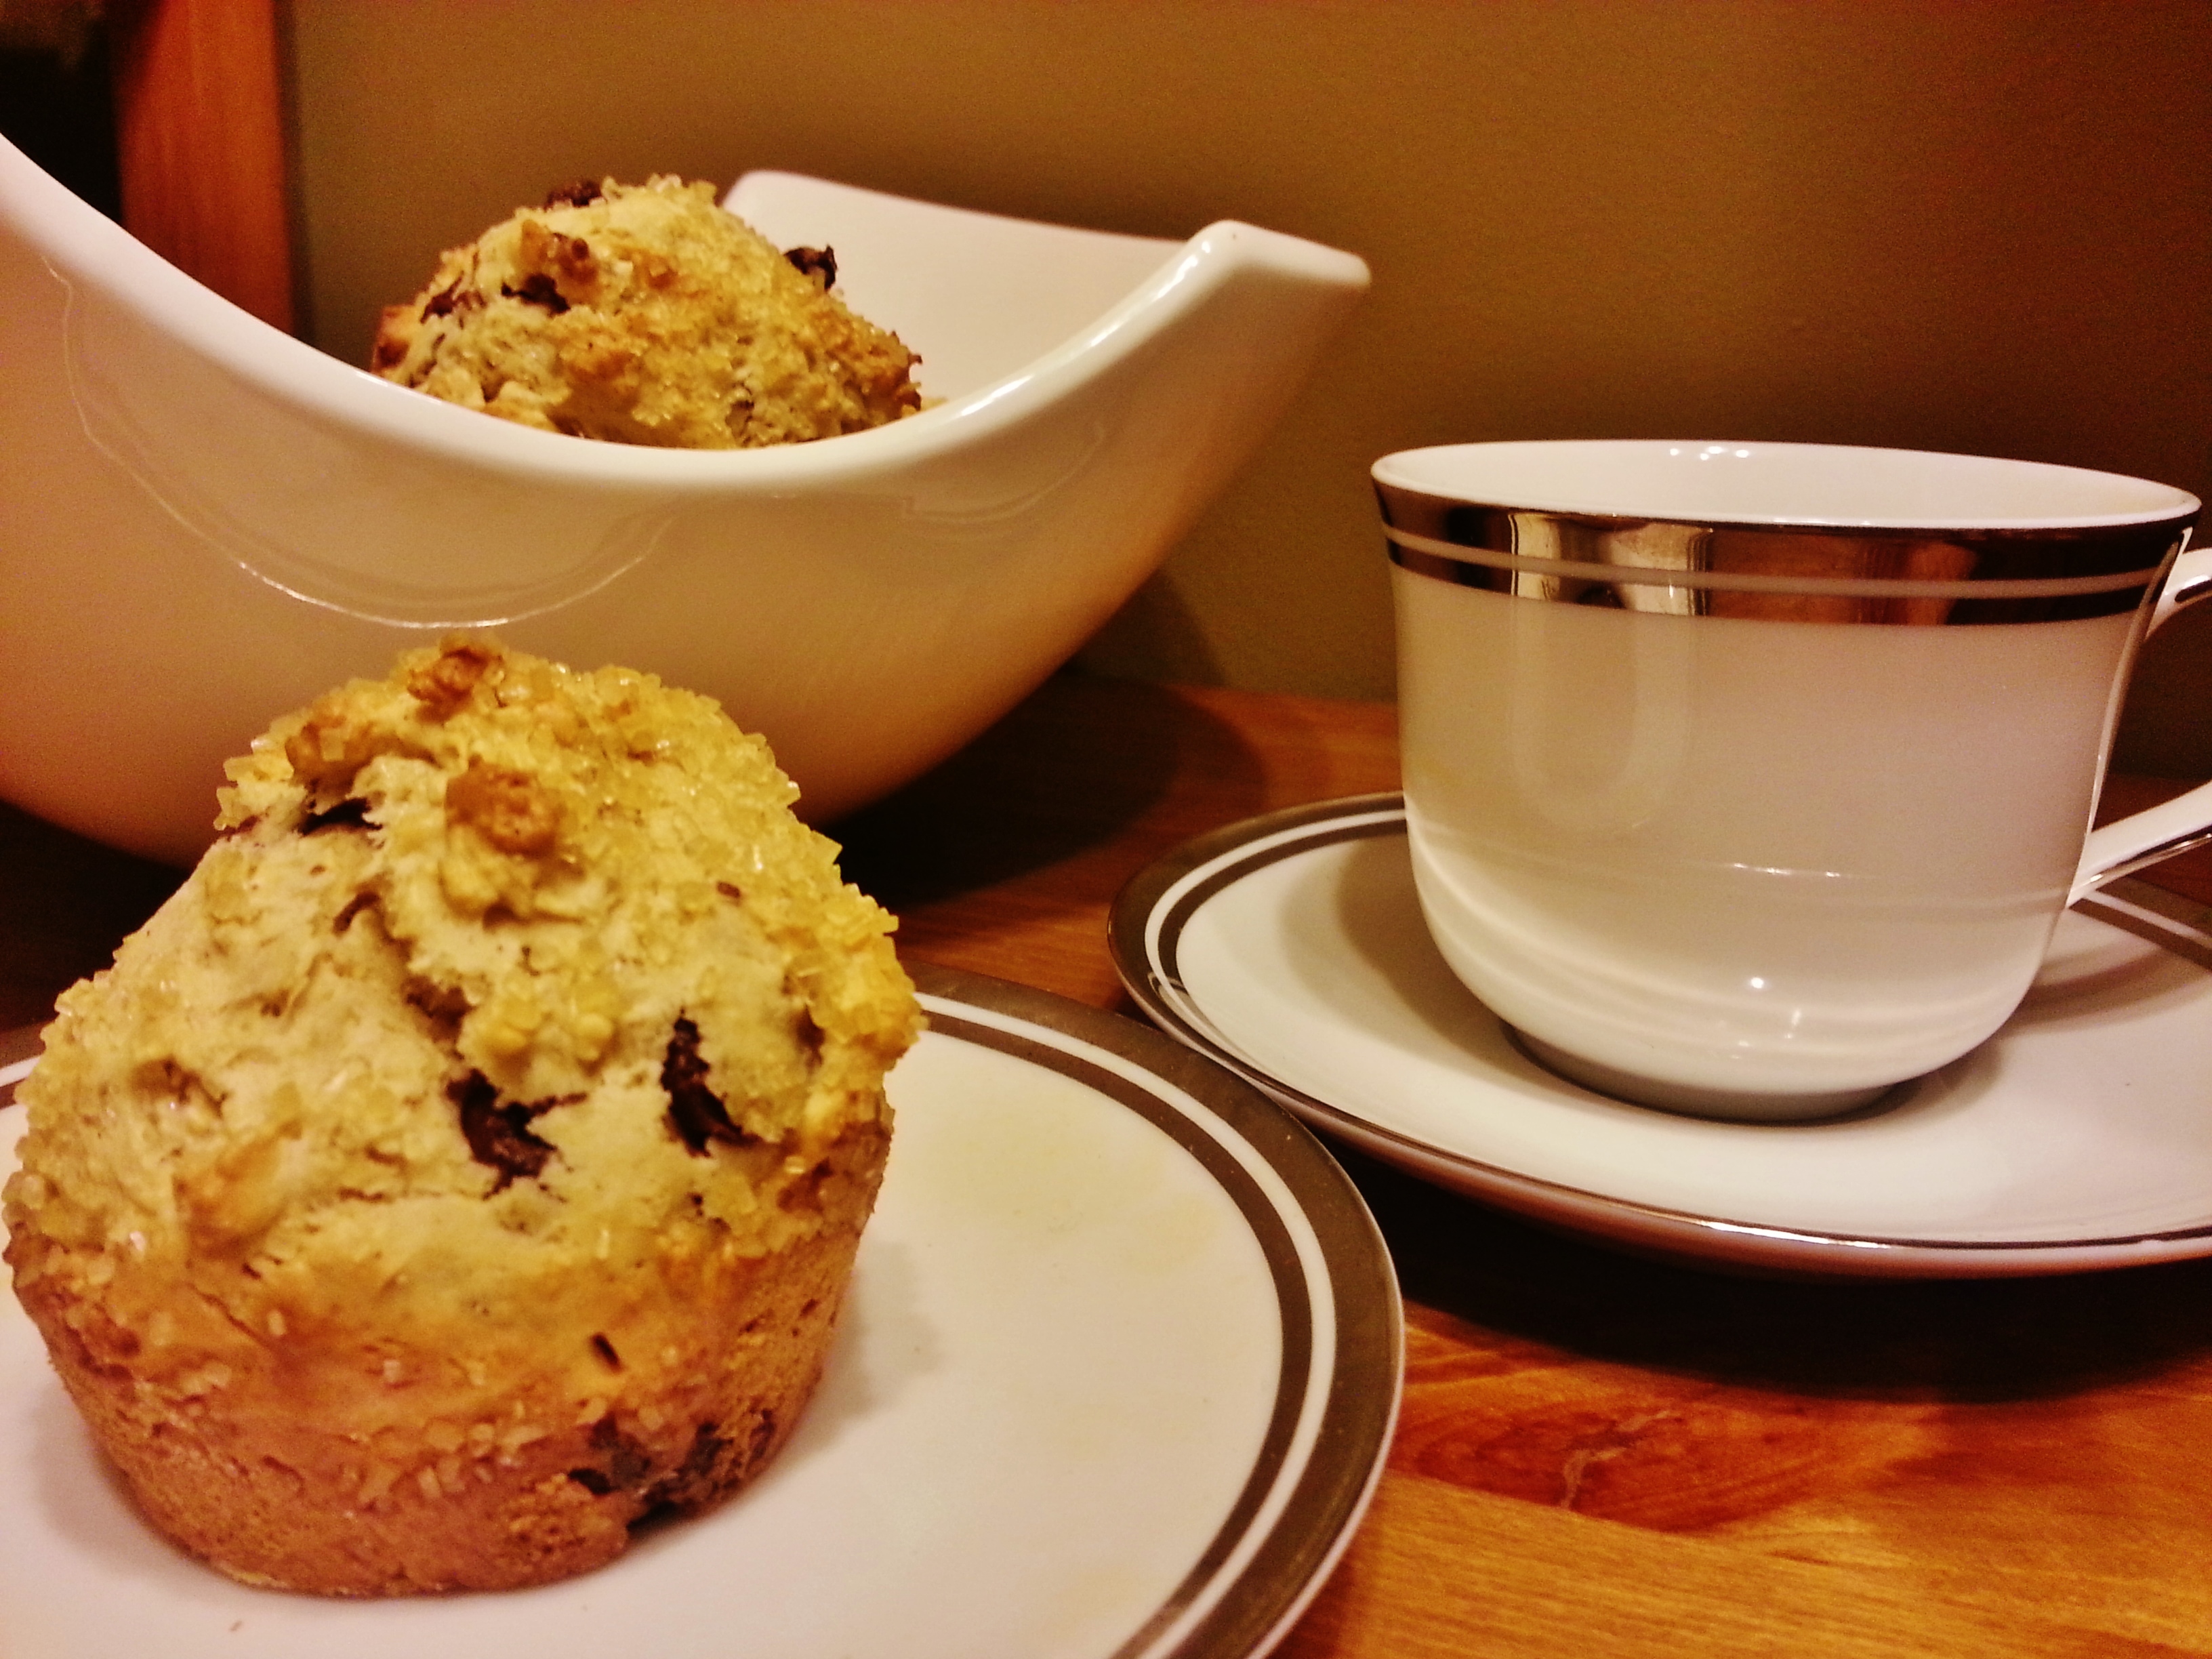
Nuts

Nuts add crunch, flavor and texture to recipes. Try replacing them with plain granola, thick cut rolled oats, pumpkin seeds or sunflower seeds. I particularly like granola as a substitution in salads – I hope you will too!

No Mayo- Avocado, Bacon, Tomato, Chipotle & Chive Deviled Eggs Recipe

1010232_10200217269740975_1634323592_n


This is my take on green eggs and ham, (or bacon.) It’s a fun and easy way to put a spin on a traditional side dish, and they are a big hit at picnics!

Here’s what you need:

12 eggs

2 ripe avocados

A splash of white wine (or lime juice)

6 slices of thick cut bacon

Grape or cherry tomatoes. (Enough for 12 slices.)

Fresh chives

a generous pinch (or two) of dried chipotle seasoning (or crushed red pepper flakes)

a pinch of salt

Here’s what you do:

Hard boil the eggs (about 12 minutes) and fry the bacon until crispy. Set the bacon aside to cool. Peel the eggs and slice them in half long-wise. Remove the yolks and place them in a bowl. You can use a stand up mixer with whisk attachment, or a handheld mixer, or a wooden spoon if you are feeling strong. (I opt for the stand up mixer.)

Cut the avocados in half, carefully remove the pits and scrape them out of the skin. Add them to the egg yolks. Add a splash of white wine, or lime juice. (I use the wine because I am allergic to citrus, and it keeps the avocado from browning. I think the flavor is nice too.) Add the salt and chipotle or pepper seasoning.

Crumble 4 of the pieces of bacon into the mixture, and save the other two for garnish/topping for the eggs. Spoon the mixture evenly into the egg halves. (About a heaping teaspoonful for each.) Crumble the remaining bacon and sprinkle over the eggs.

Snip the chives into about 1 inch pieces, and stick 2 into each egg’s filling. Top with a tomato slice, and sprinkle a little extra chipotle on top if you’s like.

Enjoy!

Chocolate Chip Oatmeal Muffins Recipe

20130627_192947

Ingredients:

1 c all-purpose flour

1/4 c sugar

1 tsp baking powder

1/2 tsp vanilla

1/2 tsp cinnamon

1 egg

3 Tbsp canola, vegetable, or extra light olive oil

1/4 c milk

1/3 c rolled oats

1/3 c semi-sweet chocolate chips

Additional sugar for tops (preferably raw)

Directions:

Preheat the oven to 400 degrees. Lightly grease and flour (or paper line) 6 muffin cups in a tray. Mix flour, sugar, baking powder, cinnamon and salt in a bowl (Or standing mixer.) Add the egg,oil, milk and vanilla until smooth. Add the oats and chocolate chips. Divide the batter between the 6 cups and sprinkle the additional sugar on the tops. I like raw sugar the best for this because it gives the tops a nice texture. Bake for 15-20 minutes, and enjoy!

Baking Powder

Is “aluminum free” baking powder important? I think aluminum free baking powder does make recipes taste better. Additionally, there are a lot of conflicting reports about whether or not consuming aluminum is harmful. My general rule of thumb is that if something “might” be bad for you, and you can avoid it, then you probably should. The Agency for Toxic Substances and Disease Registry ATSDR is a government agency who’s website states that small levels of Aluminum exposure are generally safe, but high levels of exposure can lead to bone disease (& in some cases brain disease) in children, and Alzheimer’s disease in adults.

The trouble is, though general amounts of Aluminum we are exposed to in products and environmentally are defined, I cannot seem to find a clear definition of what is considered to be a “high” or “low” level.  For a few cents more, I’d just as soon avoid it. I have the same rule for cosmetics and other products that contain aluminum, but that’s another blog. 😉

Recipes

*I will update the list of recipes on this blog as I go, to make searching easier. (Some recipes are in duplicate categories.) Enjoy!

Breakfast

Chocolate Chip Oatmeal Muffins

Coffee Cake (a versatile and delicious recipe that can be used with your favorite fruit, or chocolate chips etc.)

Main Dishes

Bourbon and Brown Sugar Glazed Country Ribs with Baked Chipotle Onion Rings

Easy, Tender and Juicy Pot Roast Recipe

My “Go-To” Summer Salad w/ Balsamic Vinaigrette

Quiche Lorraine inspired sandwiches with lightly dressed greens on homemade Italian Stirato “Stretch” bread

Sides

Accordion Potatoes

Pop Overs

Baked Chipotle Onion Rings

Baked Zucchini Fries

My Grandmother’s Applesauce Recipe

No Mayo – Avocado, Bacon, Tomato, Chipotle & Chive Deviled Eggs

Italian Stirato “Stretch” bread

Desserts

Chocolate Chip Oatmeal Muffins

Coffee Cake (a versatile and delicious recipe that can be used with your favorite fruit, or chocolate chips etc.)

Cherry Peach Cobbler with Pecan Biscuit Topping

Bourbon Caramel Glazed Devil’s Food Cake with Mocha Icing

Easy & Delicious Blueberry Coffee Cake Recipe

481509_4171704057434_863507268_n

This recipe works great with blueberries, or pretty much anything you may have on hand. Fresh or frozen berries (or other fruit) can be used, but if you opt for frozen, thaw them out first. I have substituted the blueberries for raspberries, chocolate chips, peaches, pecans, and even dollops of jam. -So delicious, it’s hard to pick a favorite!

Here’s what you need for the batter:

1/4 c canola or vegetable oil

1 egg

1/2 c milk

1 1/2 c all-purpose flour

3/4 c sugar

2 tsp baking powder

1 tsp vanilla

1 tsp cinnamon

a pinch of salt

and a pinch of nutmeg (if you like nutmeg)

For the topping:

A couple handfuls of blueberries, chocolate chips, etc.

1/3 c brown sugar

1 Tbsp all-purpose flour

1 tsp cinnamon

1 Tbsp extra light olive oil (or regular, but not extra virgin, melted butter will work too, but, oil is easier.)

For the glaze: (make after the cake has cooled)

Powdered sugar

Milk or cold coffee

Here’s how you make it:

Preheat the oven to 375 degrees. I use my kitchen aid mixer, but you can do it by hand. Mix the flour, sugar, baking powder, cinnamon, salt and nutmeg. Add in the oil, eggs, vanilla, and milk. blend until smooth. (you can mix all of the wet ingredients together separately, but I get the same results when I just add them while the mixer is going. And one less dirty dish!

Pour the batter into a lightly greased ceramic pie plate, (preferably 8″ but 9″ will work too) or an 8″ x 8″ (or 9″x 9″) ceramic baking dish. Pretty much whatever you have will work fine, just keep en eye on the baking time, and bake it until a the center is done. You’ll know it it done if you pierce the center with a toothpick or butter knife and it comes out clean. Glass or metal dishes will work too, but I find the ceramic dishes work best for this recipe.

Sprinkle the berries (or chocolate chips, etc.) on to the top of the batter. Then in a separate bowl mix the remaining ingredients for the topping, and sprinkle that  over the top.

Bake for 25-30 minutes (give or take a few minutes depending on the dish/size of the dish you use.)

Once the cake has cooled, it’s time for the glaze.

Mix powdered sugar (1/2 c-ish with a tiny splash of milk (or cold coffee) add more of either until it reaches the consistency you like, and can be drizzled over the top of the cake with a spoon without being too liquid-y.

let the glaze set for a couple minutes, and enjoy!